Build your online store
Updated: 1 Sep 2026
Choose a theme, let the AI assistant make your logo and banner, set how the menu looks on a phone, then publish. You end up with a public link customers order from.
Rather not read? Skip to the video walkthrough at the bottom of the page.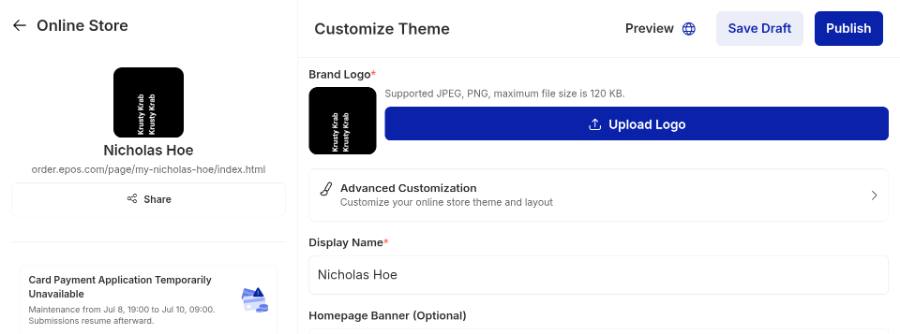
WHO THIS IS FOR
Owners taking orders online
- for the first time, without a designer or a website.
Anyone refreshing the look
- of a store that is already live. Publishing overwrites the old theme.
BEFORE YOU BEGIN
Your menu should be in first. The storefront shows whatever items and categories you already have.
No design software needed. The AI Business Assistant makes the logo and banner from your registered business details.
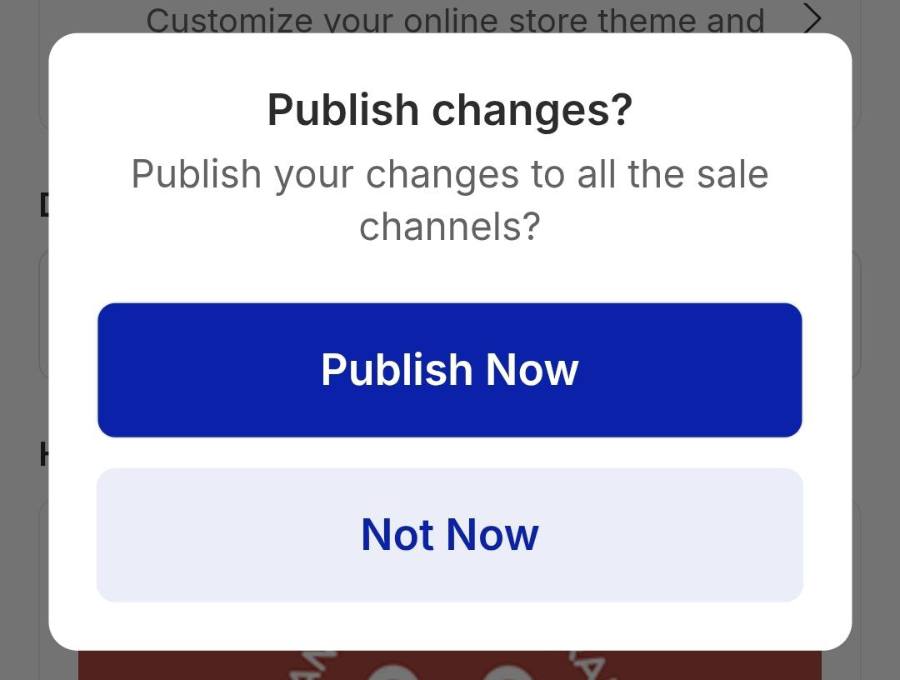
Save Draft is not live. Nothing reaches customers until you tap Publish and confirm Publish Now.
THE STEPS
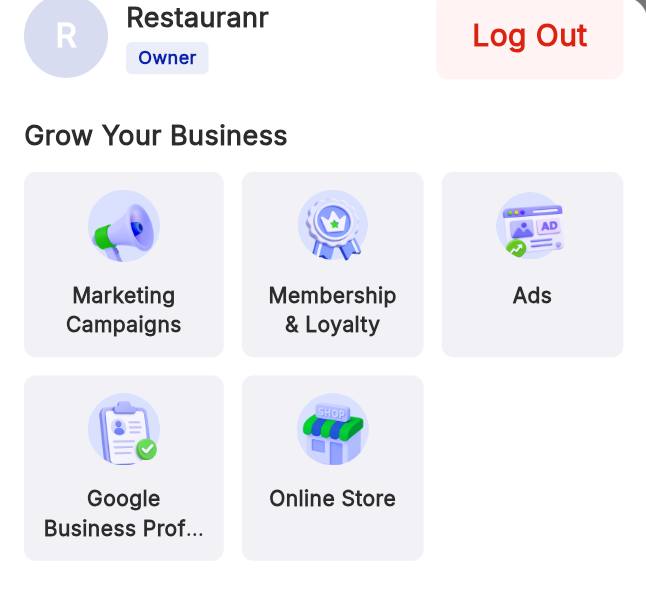
Step 1: Open Online Store settings
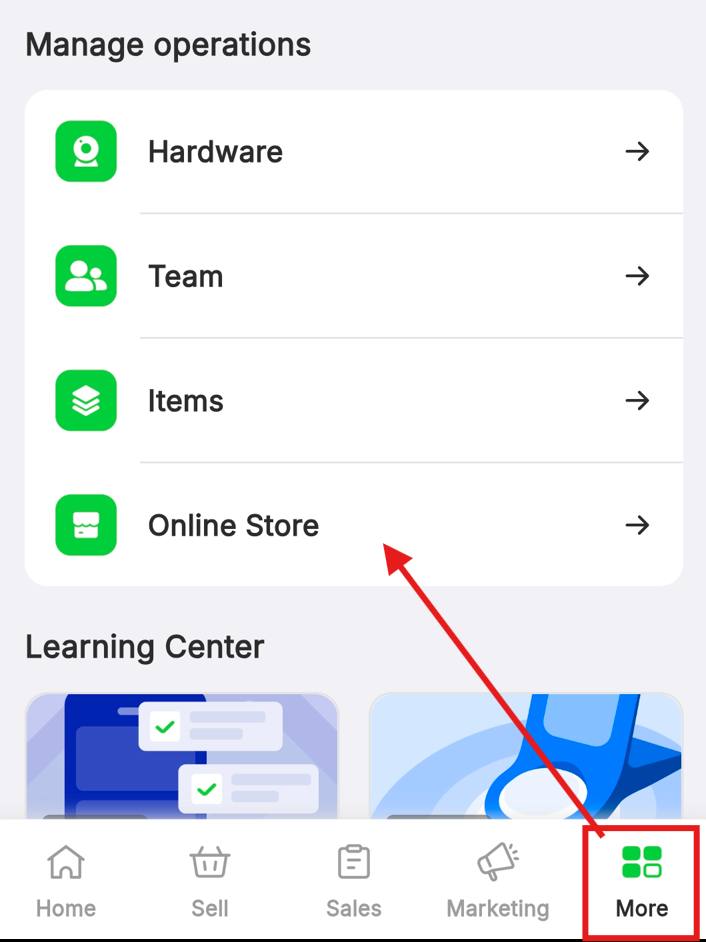
From the home dashboard, tap the More tab, then Online Store. The control panel shows your store link and a Share button.
Step 2: Choose a theme
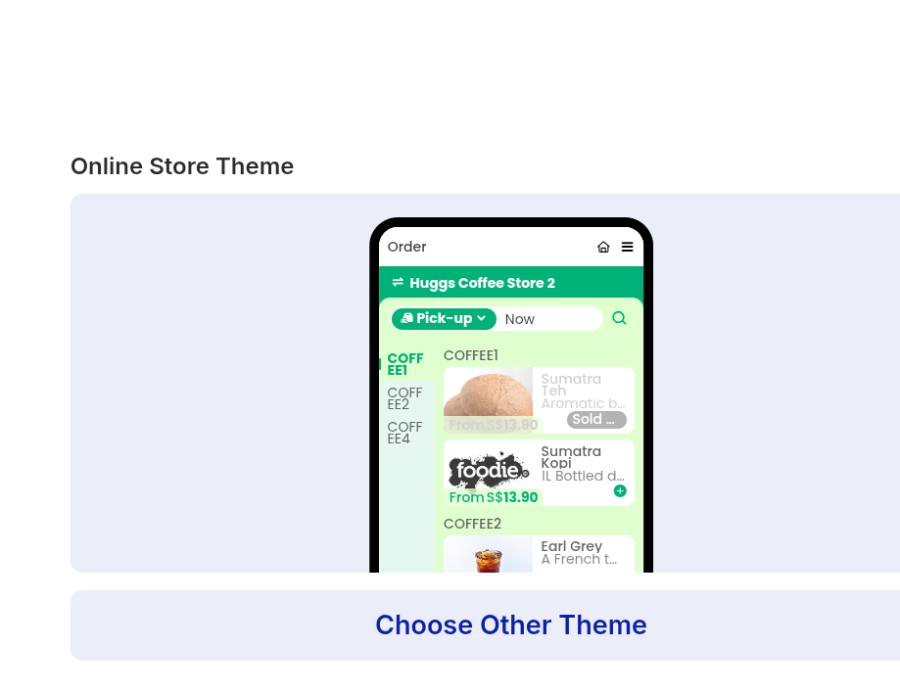
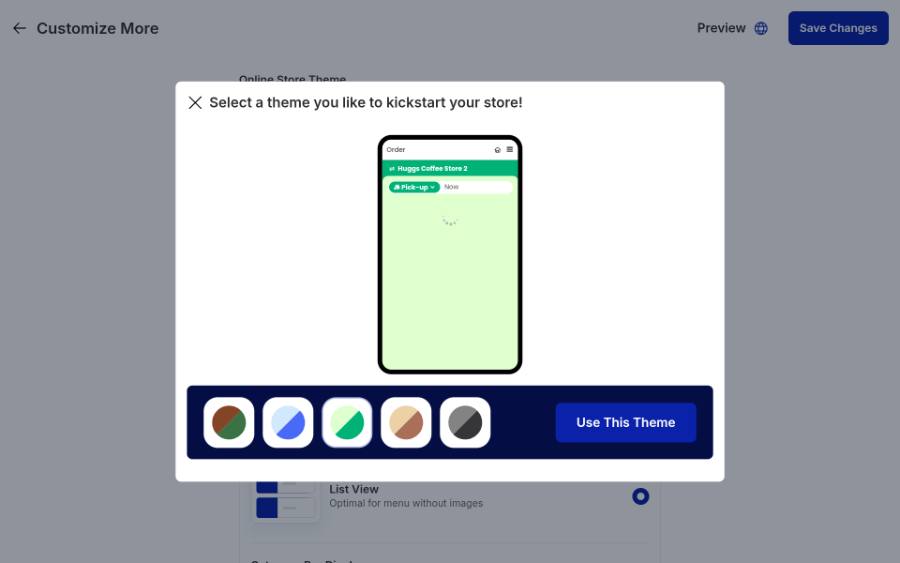
On the Online Store control panel, tap Advanced Customization, then the blue Choose Other Theme button to browse. Pick a colour to see a live preview, tap Use This Theme, then Save Changes at the top right.
Step 3: Add your logo
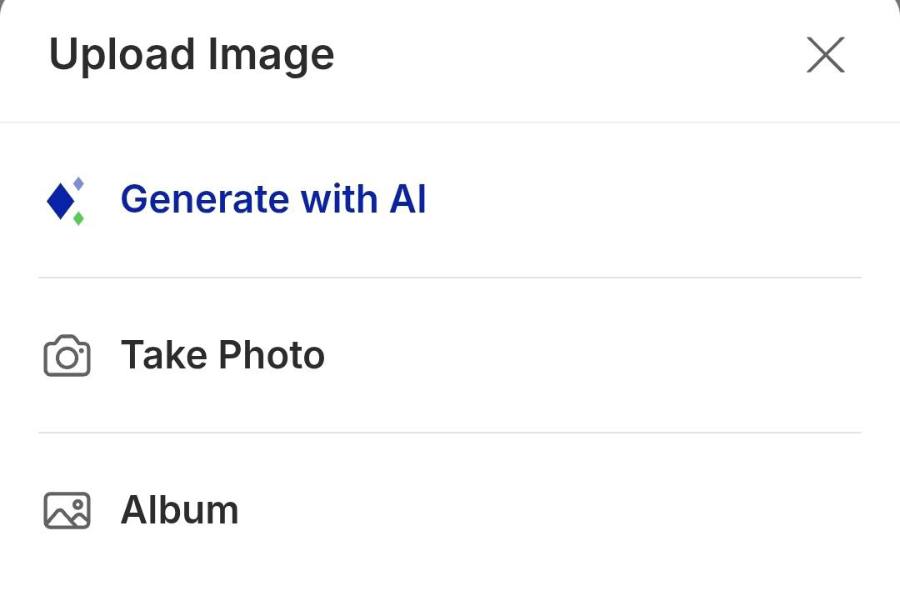
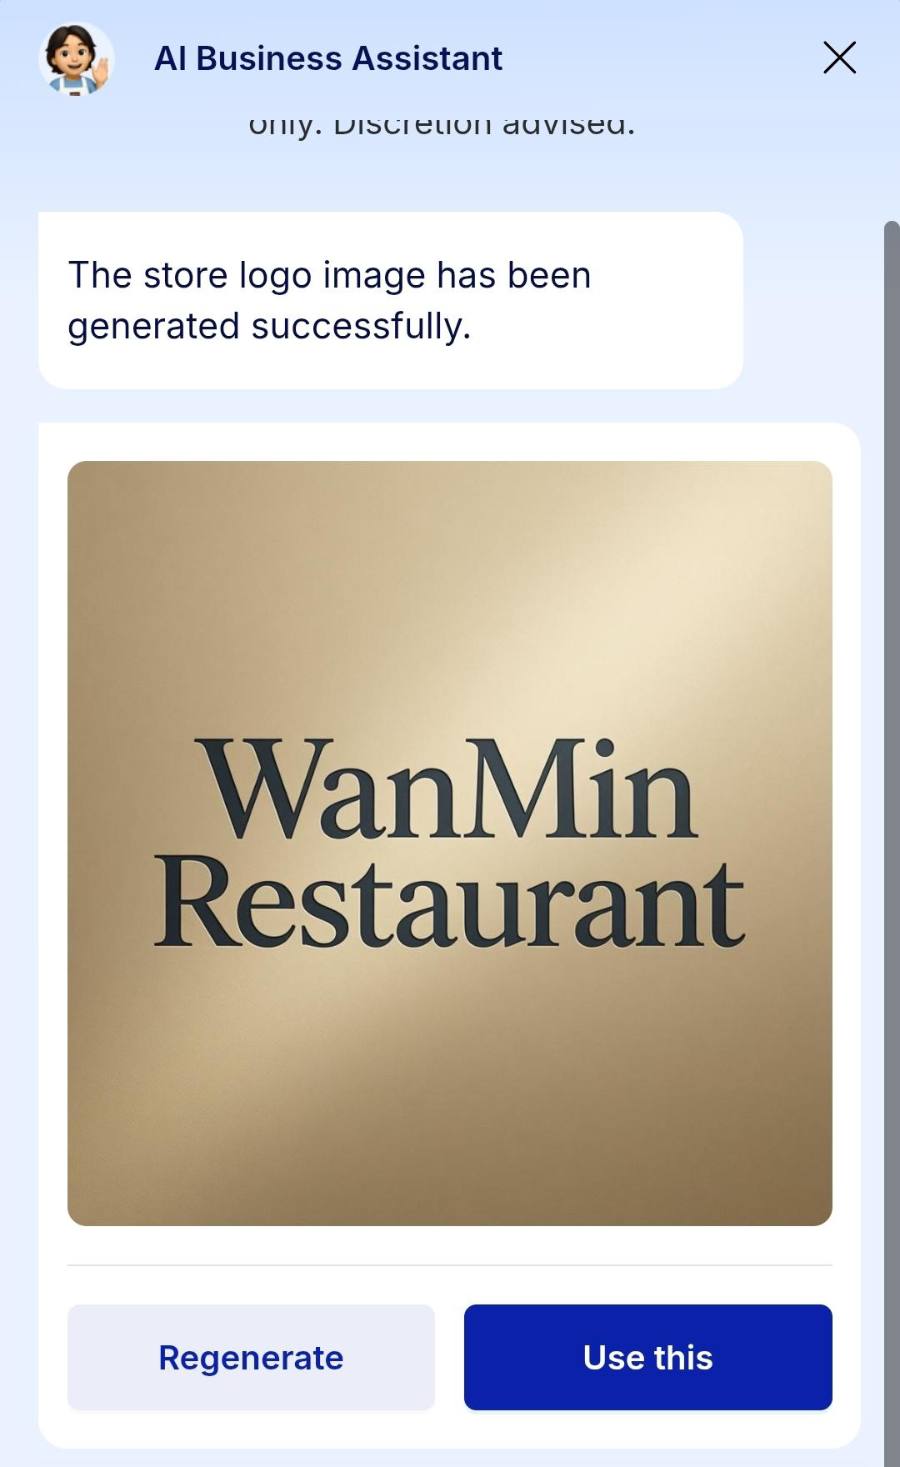
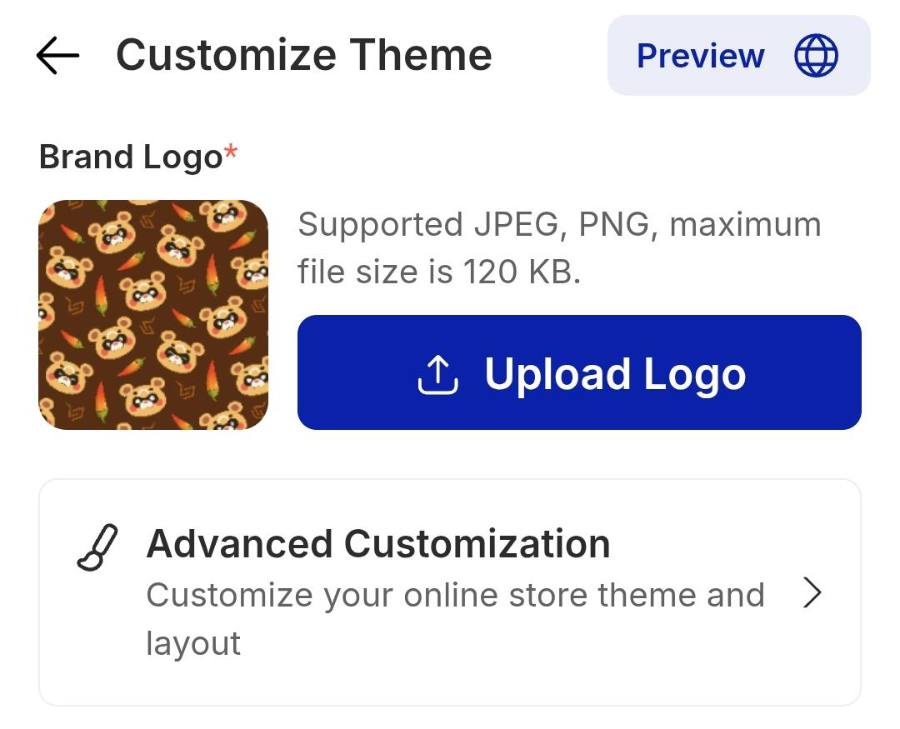
Tap Upload Logo. In the Upload Image drawer, choose Generate with AI if you do not have a file ready. The assistant uses your registered business name; when it finishes, scroll down in the chat and tap Use this, or Regenerate for another.
Uploading your own file instead? JPEG or PNG, up to 120 KB for the logo.
Step 4: Set the menu layout
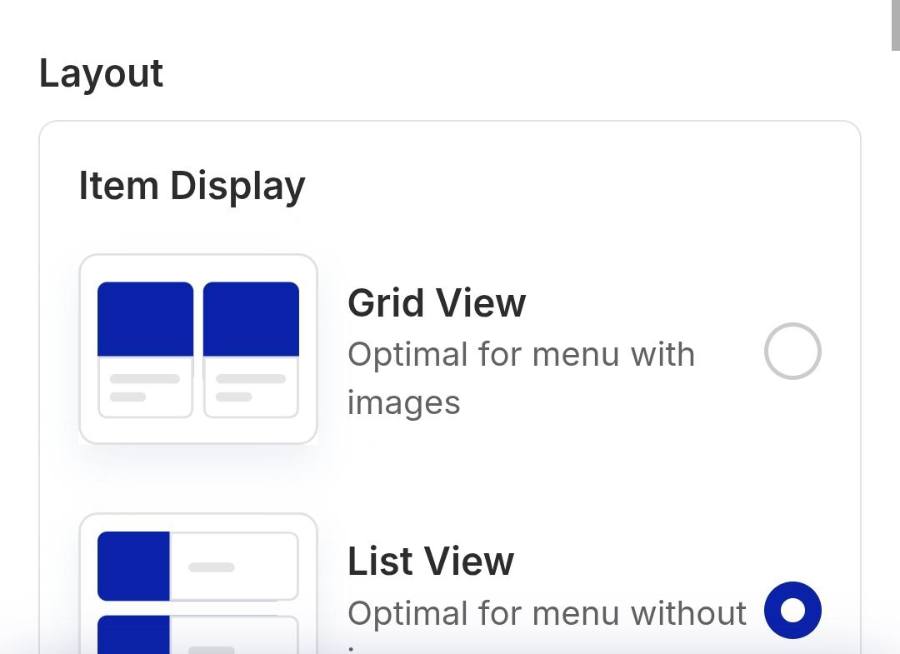
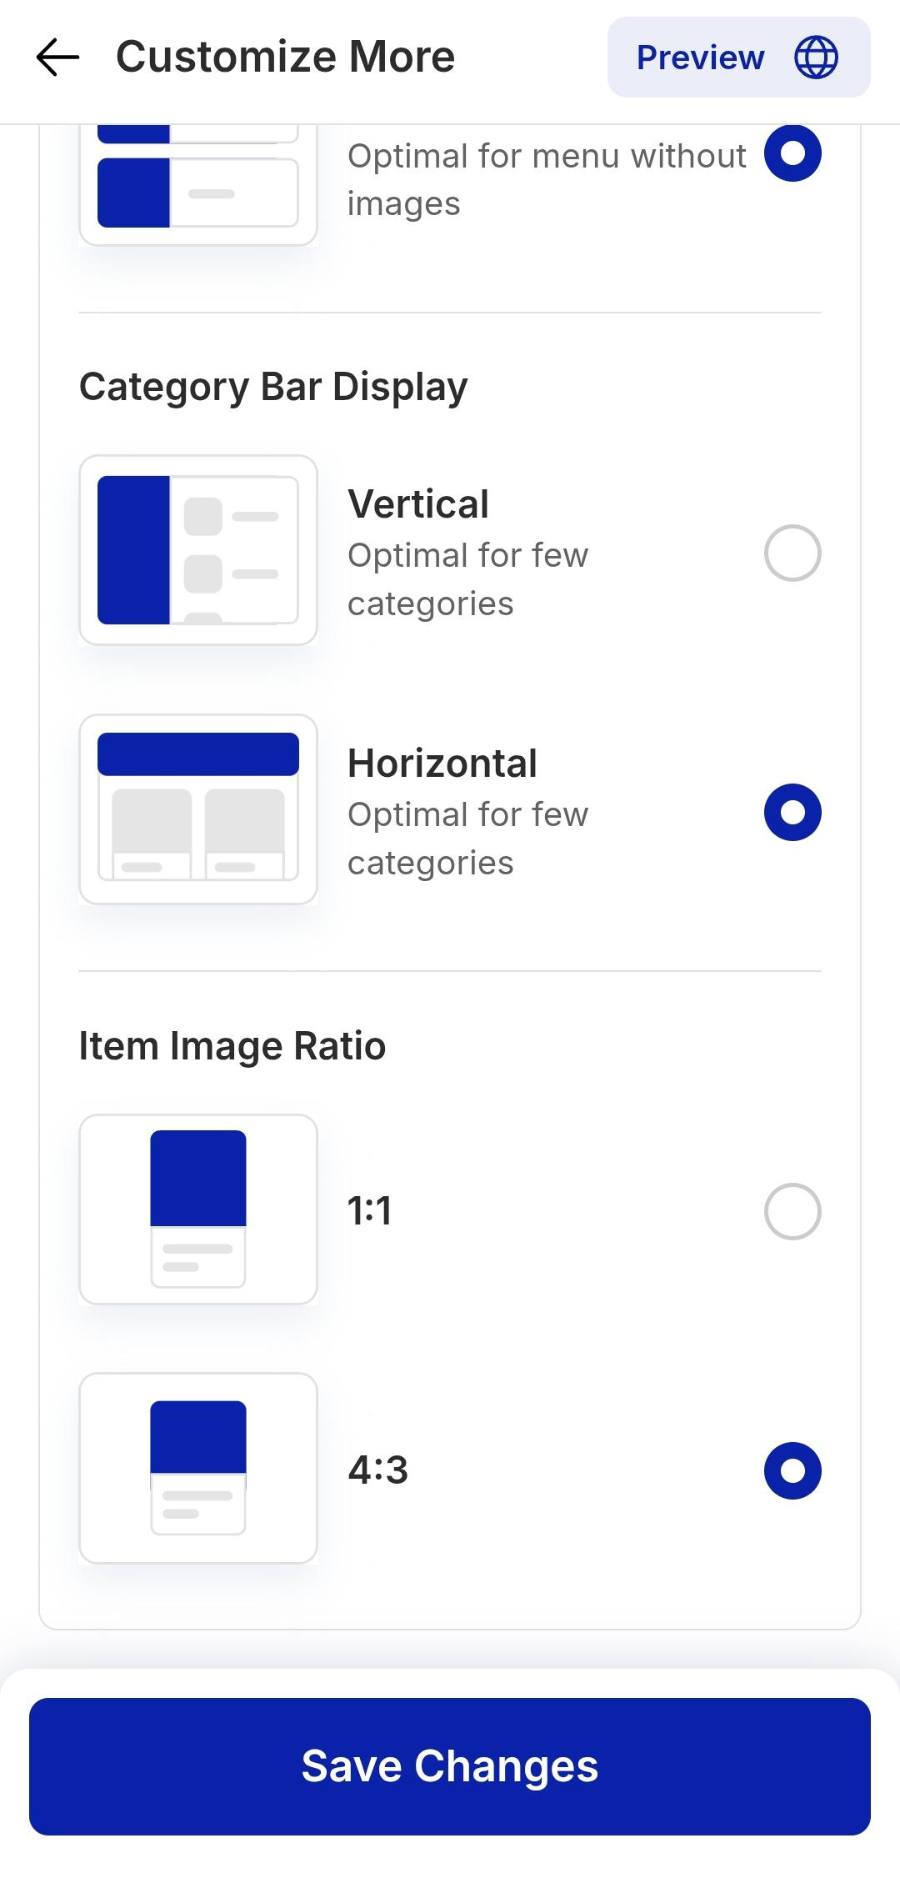
Open Advanced Customization and set three things under Layout, then tap Save Changes. A green Changes saved toast confirms it.
Step 5: Add a homepage banner
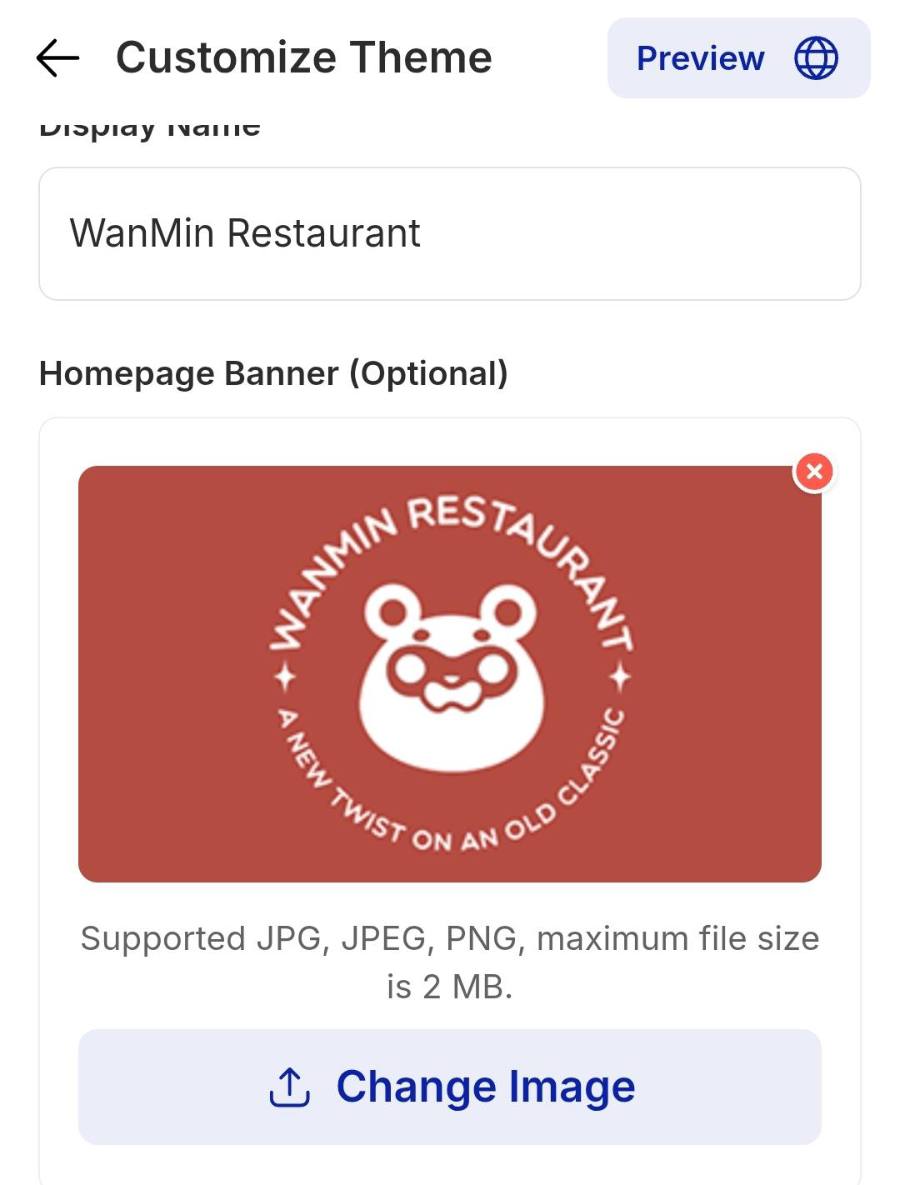
Back on Customize Theme, find Homepage Banner (Optional) and tap Change Image. Choose Generate with AI and the assistant builds a promotional image around what you sell. Tap Use this, frame it on the Crop Photo screen, then Done. Banners can be up to 2 MB if you upload your own.
Step 6: Publish your store
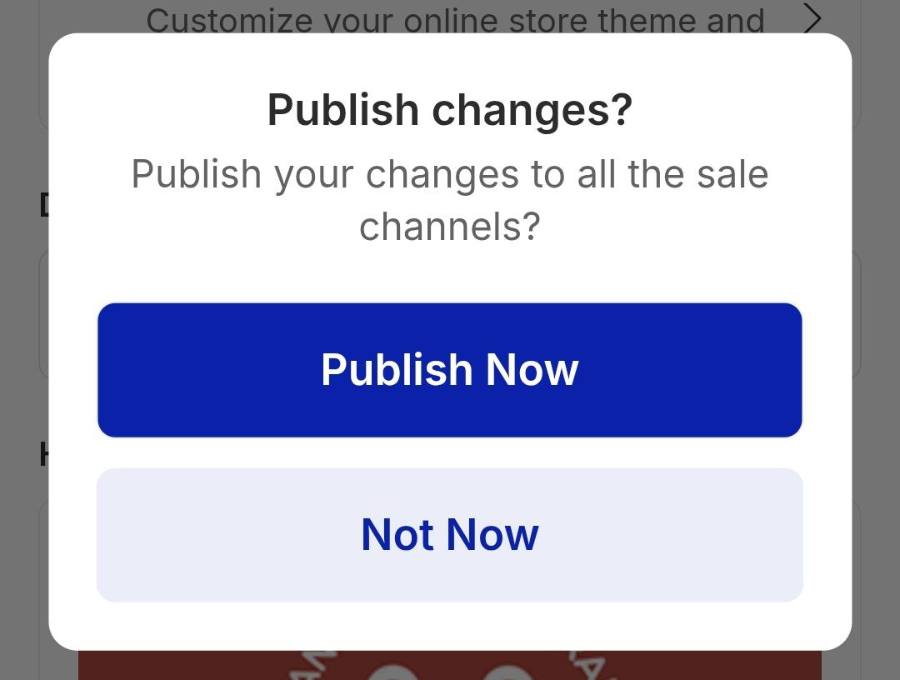
Check the layout, then tap the blue Publish button at the top right. When Publish changes? appears, tap Publish Now and everything goes out to all sales channels at once. You land on your live store link, ready for dine-in and pick-up orders.
Step 1: Open Online Store settings
From the home dashboard, tap the More tab, then Online Store. The control panel shows your store link and a Share button.
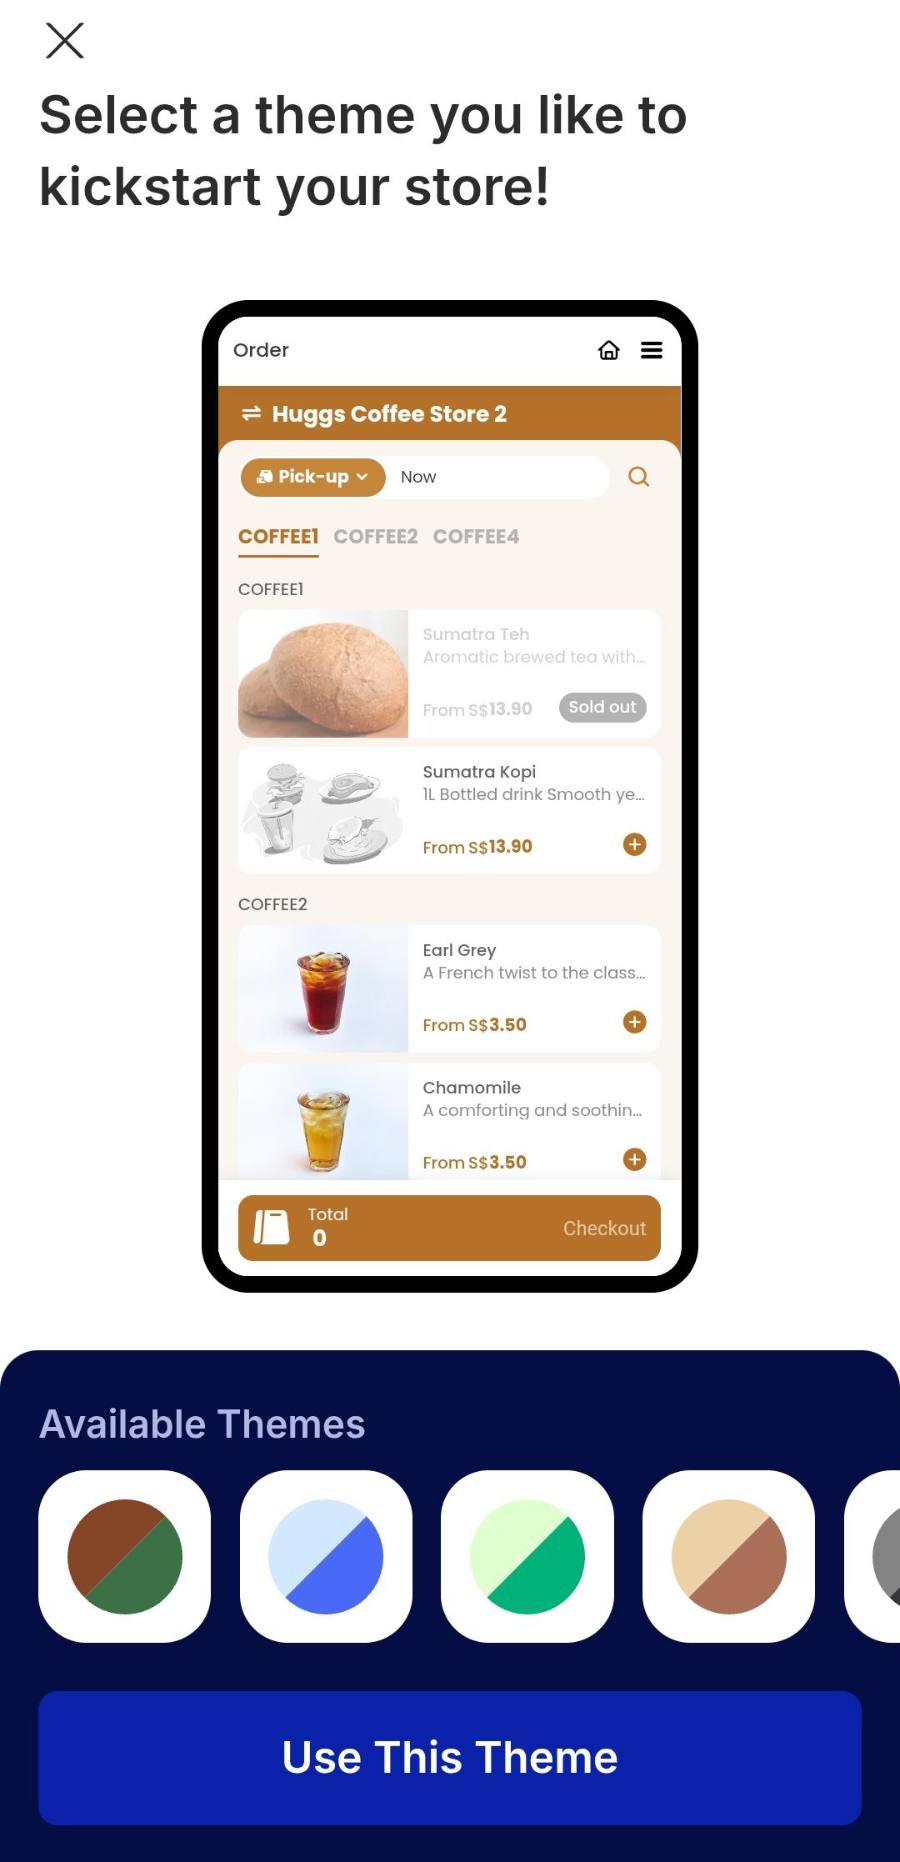
Step 2: Choose a theme
Tap Customize Theme. At the bottom of the page you get an Available Themes row of colour wheels — tap one and the preview above updates. When you like it, tap the blue Use This Theme button.
Step 3: Add your logo
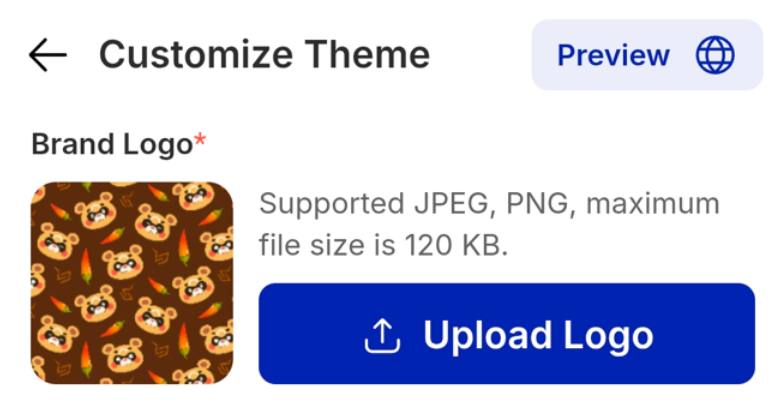
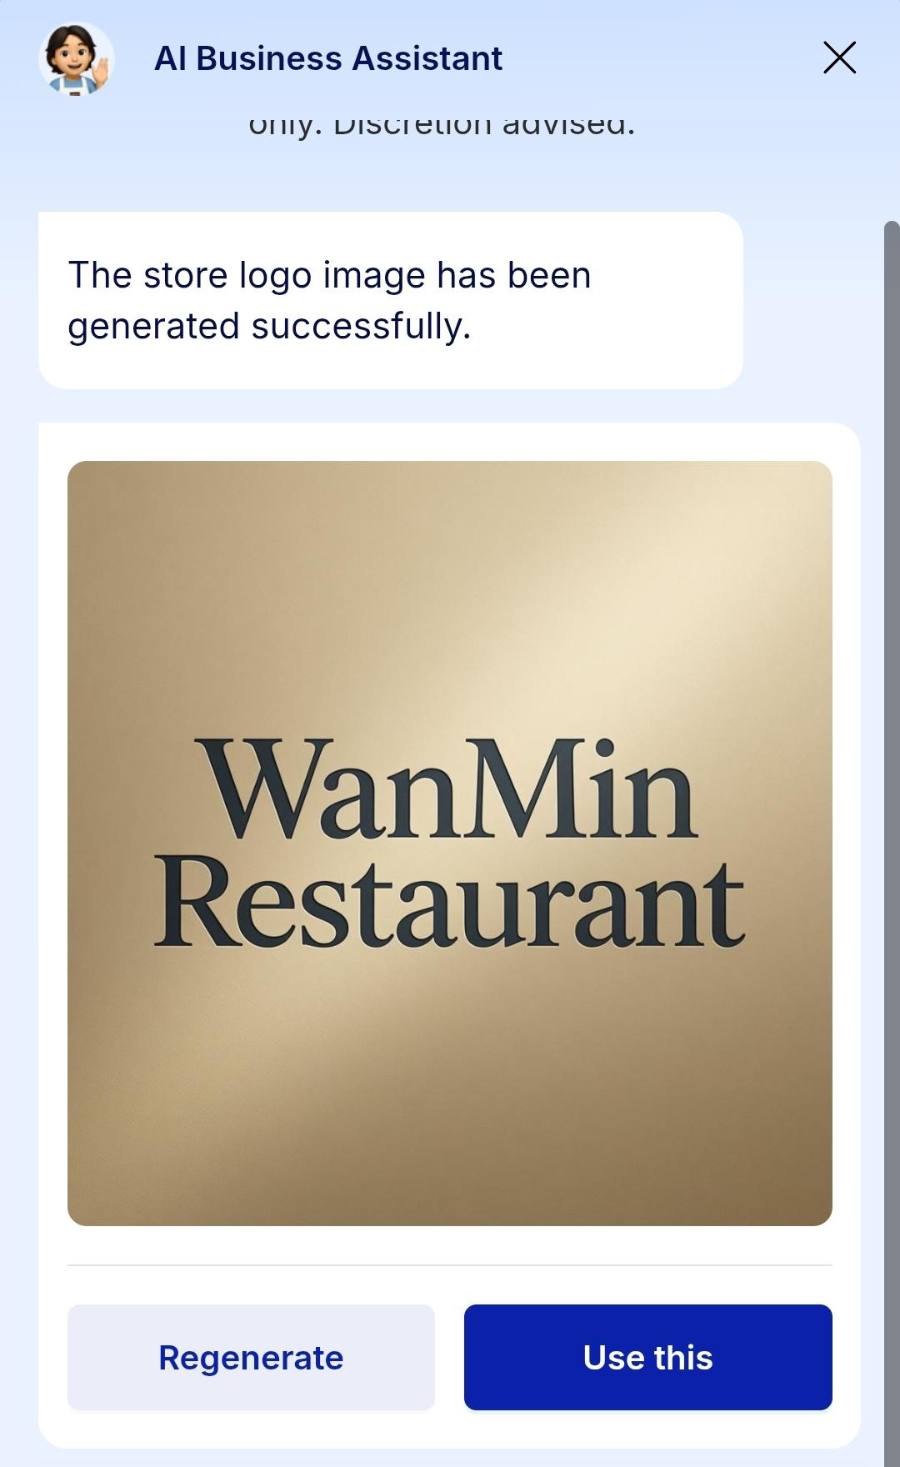
Tap Upload Logo. In the Upload Image drawer, choose Generate with AI if you do not have a file ready. The assistant uses your registered business name; when it finishes, scroll down in the chat and tap Use this, or Regenerate for another.
Uploading your own file instead? JPEG or PNG, up to 120 KB for the logo.
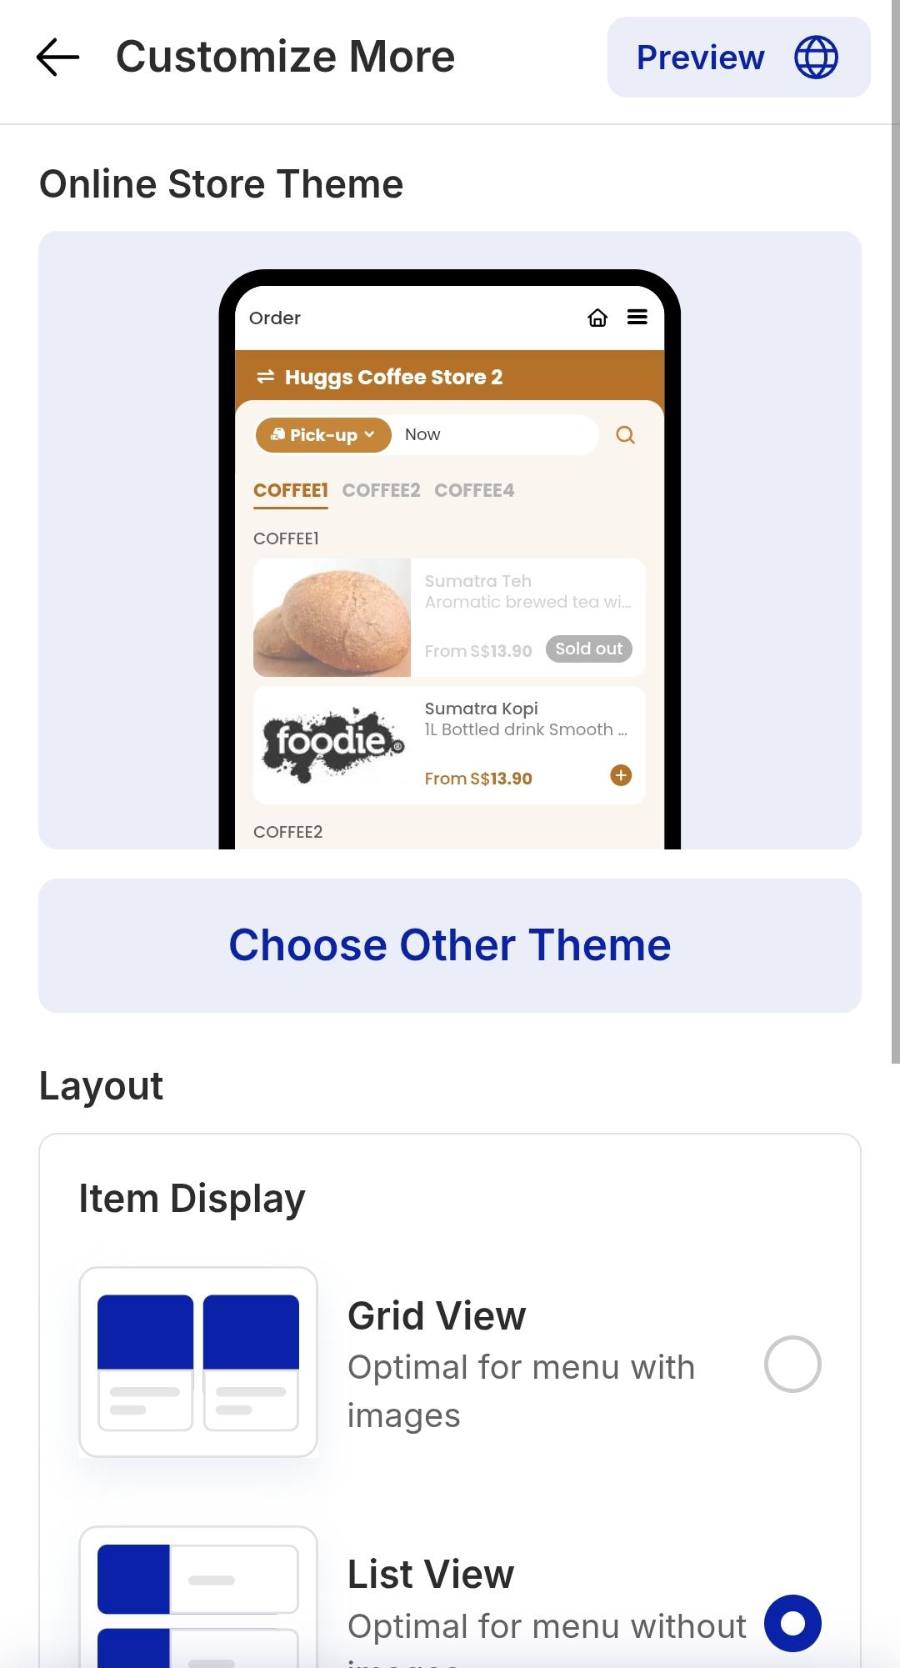
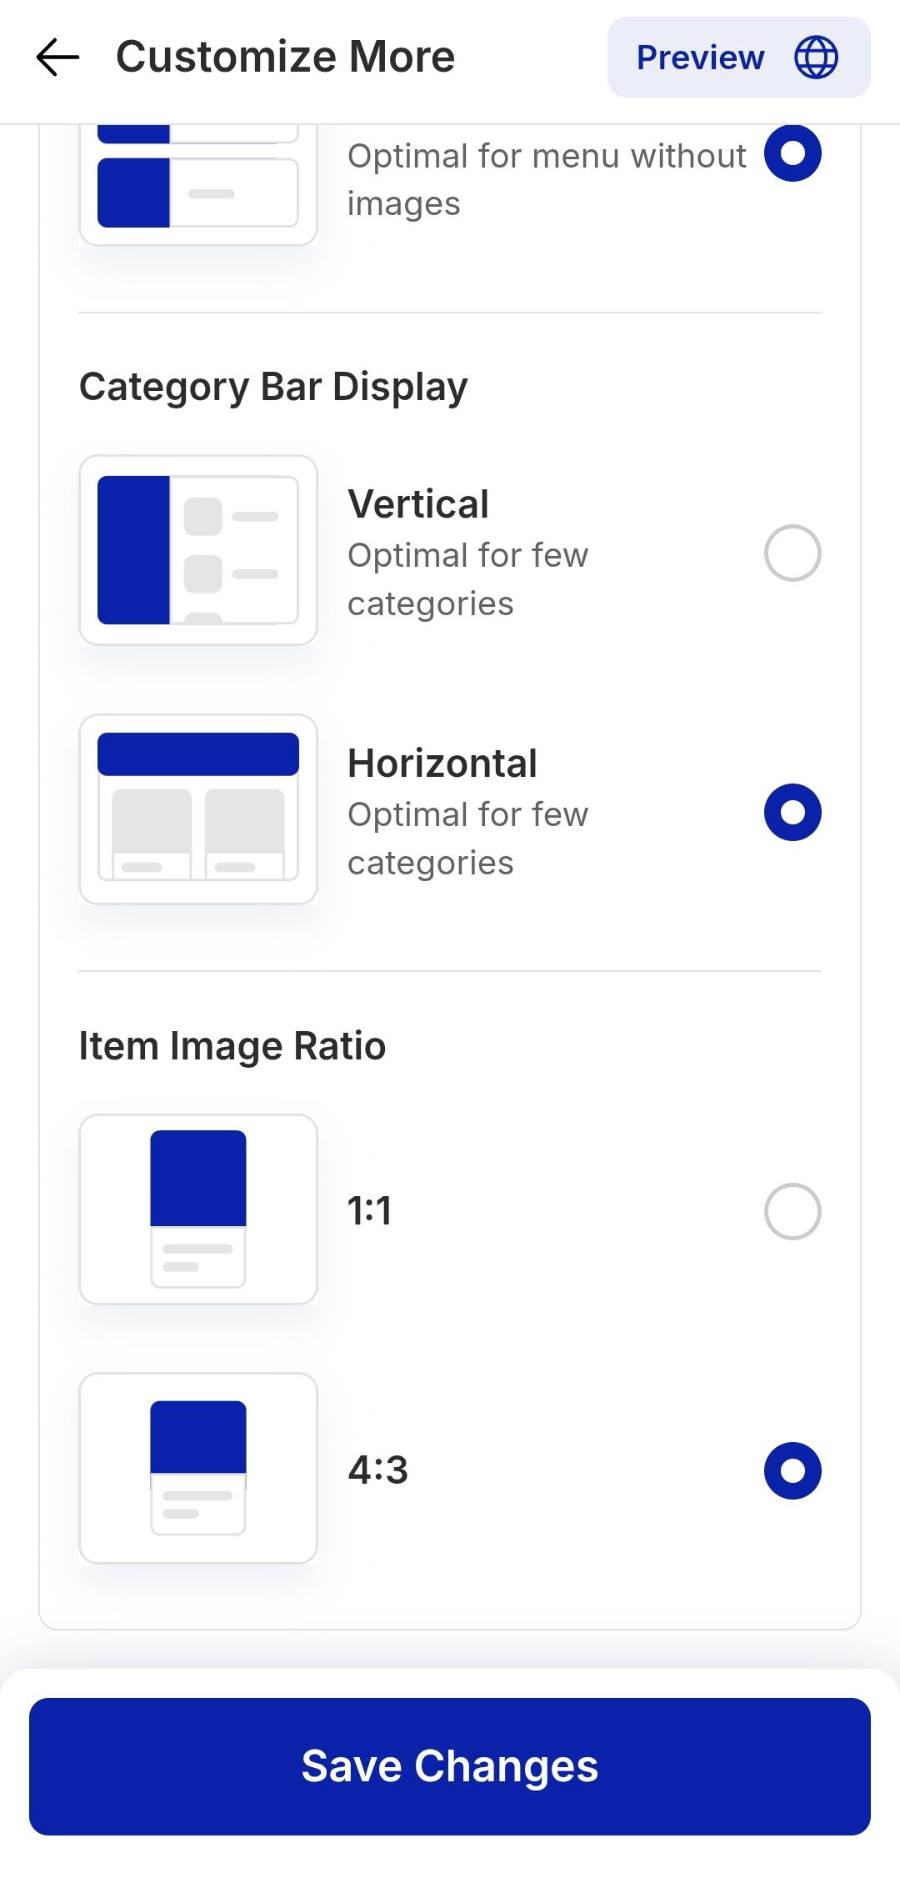
Step 4: Set the menu layout
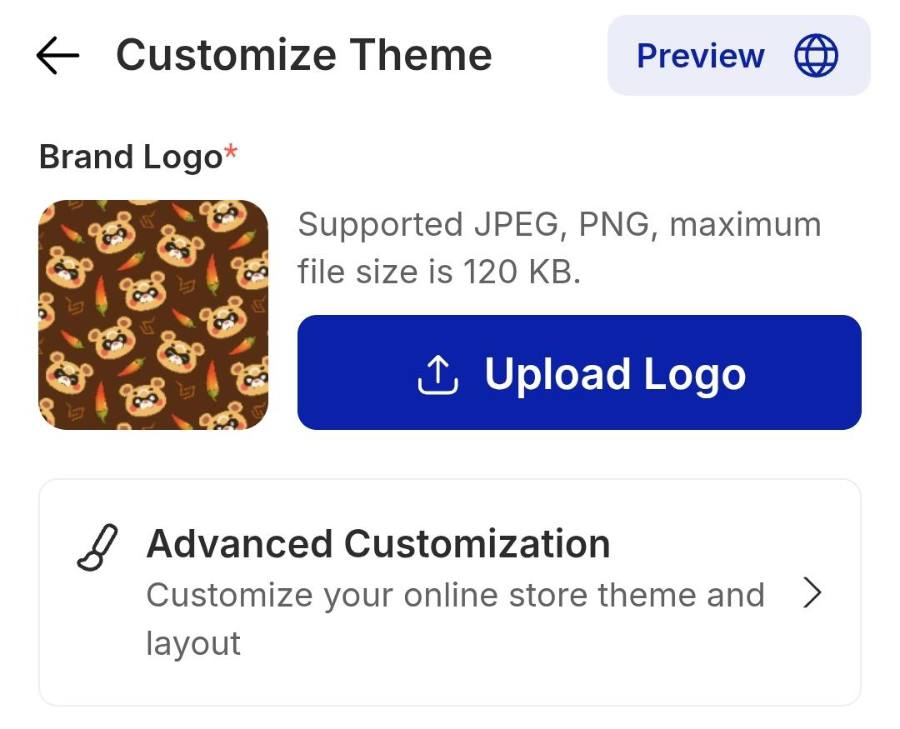
Open Advanced Customization and set three things under Layout, then tap Save Changes. A green Changes saved toast confirms it.
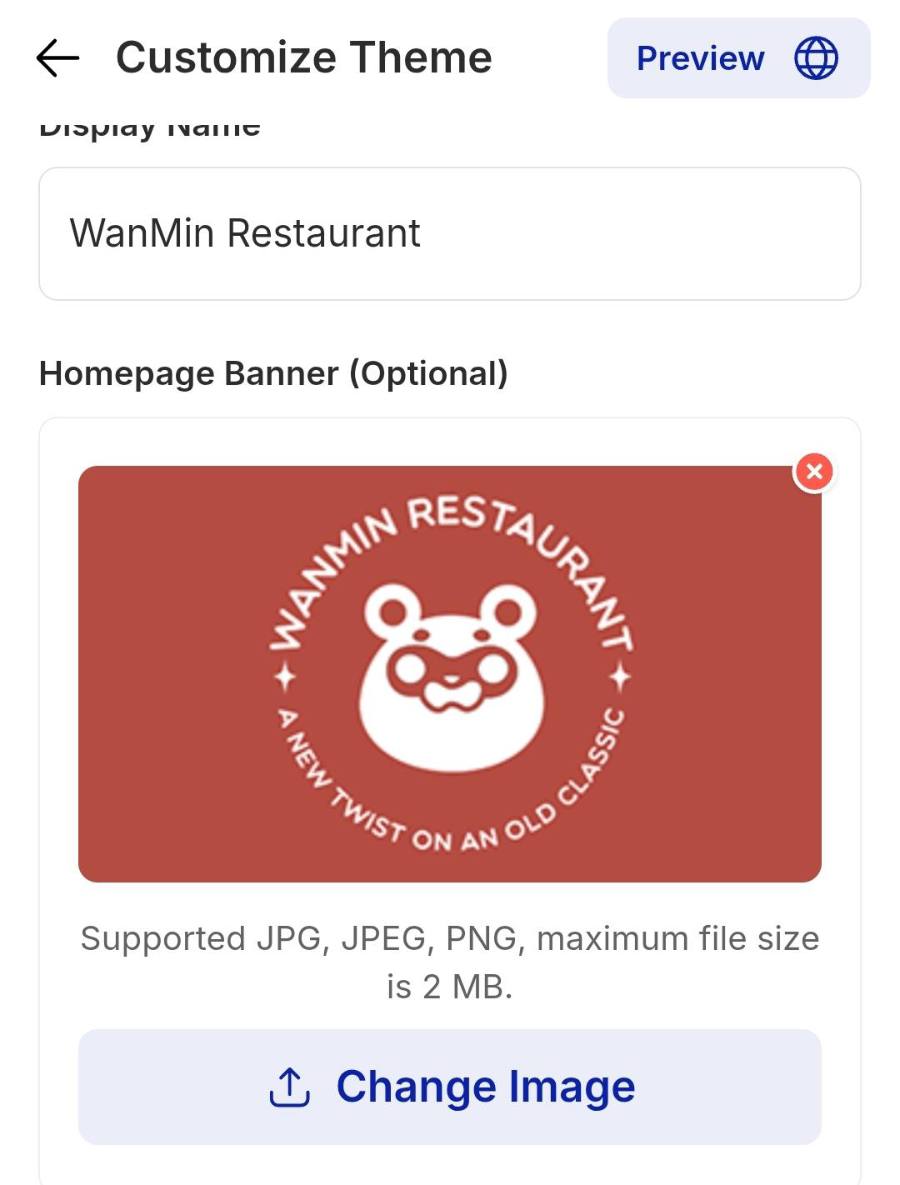
Step 5: Add a homepage banner
Back on Customize Theme, find Homepage Banner (Optional) and tap Change Image. Choose Generate with AI and the assistant builds a promotional image around what you sell. Tap Use this, frame it on the Crop Photo screen, then Done. Banners can be up to 2 MB if you upload your own.
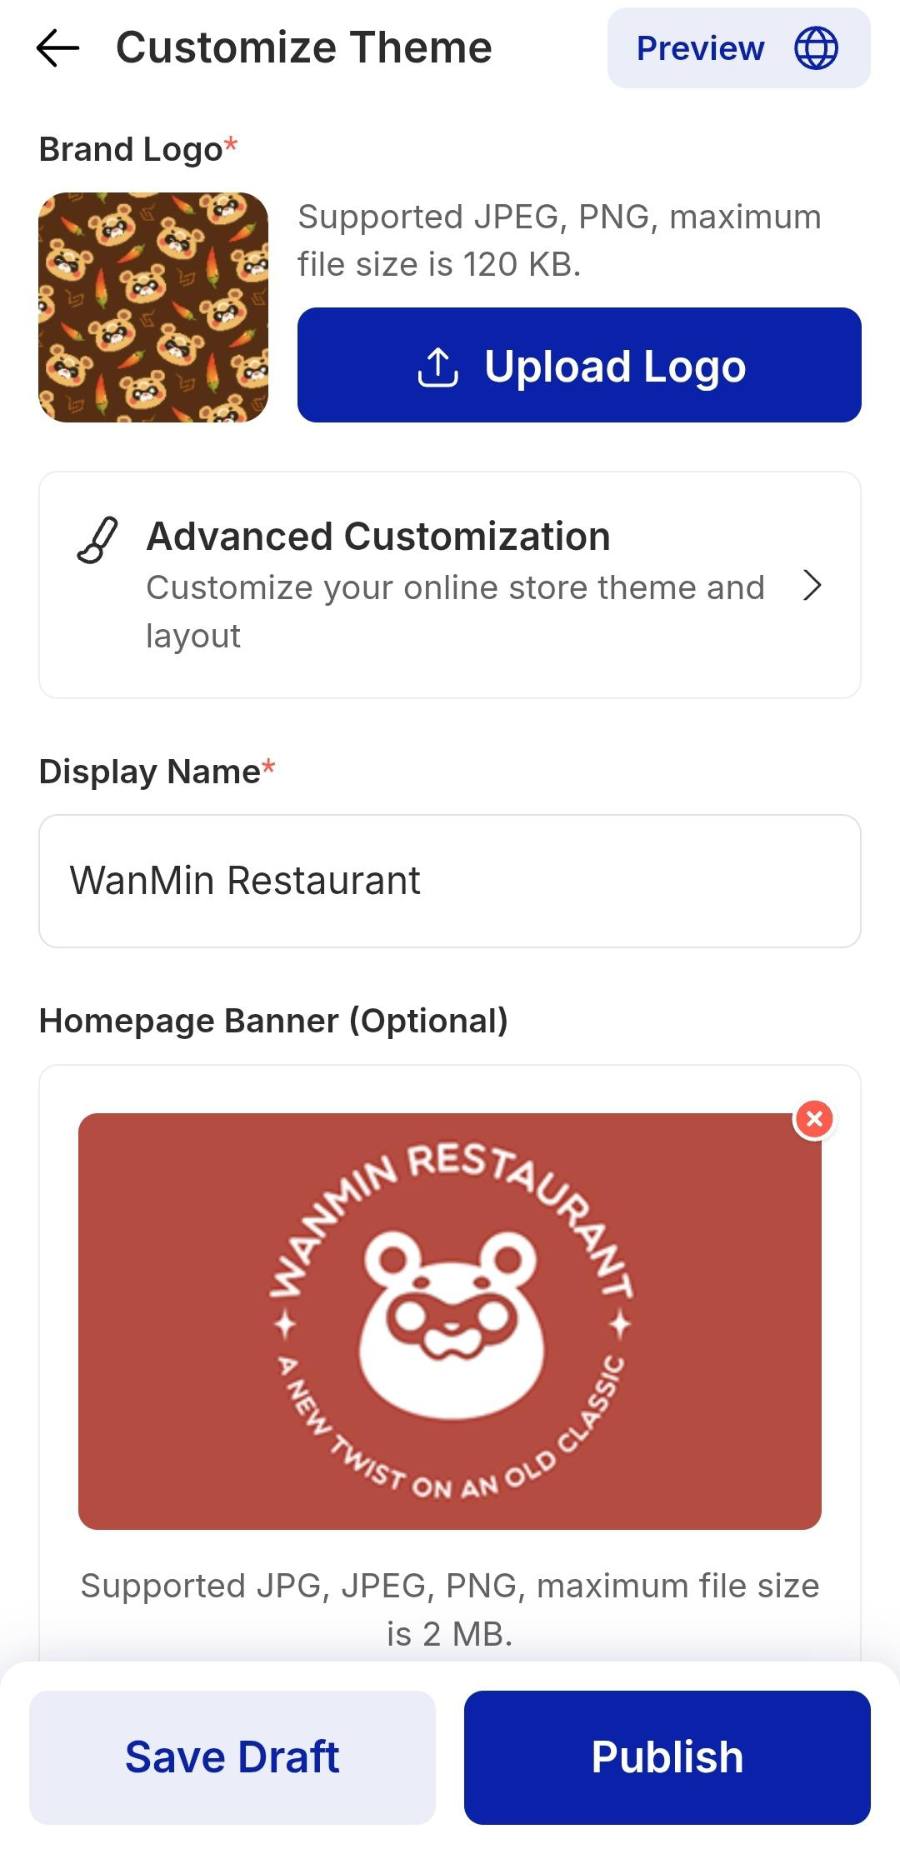
Step 6: Publish your store
Check the layout, then tap the large blue Publish button at the bottom of the screen. When Publish changes? appears, tap Publish Now and everything goes out to all sales channels at once. You land on your live store link, ready for dine-in and pick-up orders.
WATCH IT INSTEAD
Tablet walkthrough
Phone walkthrough
IF IT LOOKS WRONG
Changes sit in draft until you publish. Tap Publish, then Publish Now on the confirmation.
Switch Item Image Ratio between 1:1 and 4:3 to match how your photos were shot.
Logos are limited to 120 KB, JPEG or PNG. Shrink the file, or generate one with the AI assistant instead.