Add a payment method
Updated: 10 Sep 2026
Cash, DuitNow, Card and QR come as standard. Add your own named method for vouchers, corporate accounts or testing, so staff pick a clean label and your reports stay tidy.
WHO THIS IS FOR
Owners and finance staff
- who need tender types that match how money actually comes in.
Managers running promotions
- — build the method ahead of time and leave it disabled until launch day.
BEFORE YOU BEGIN
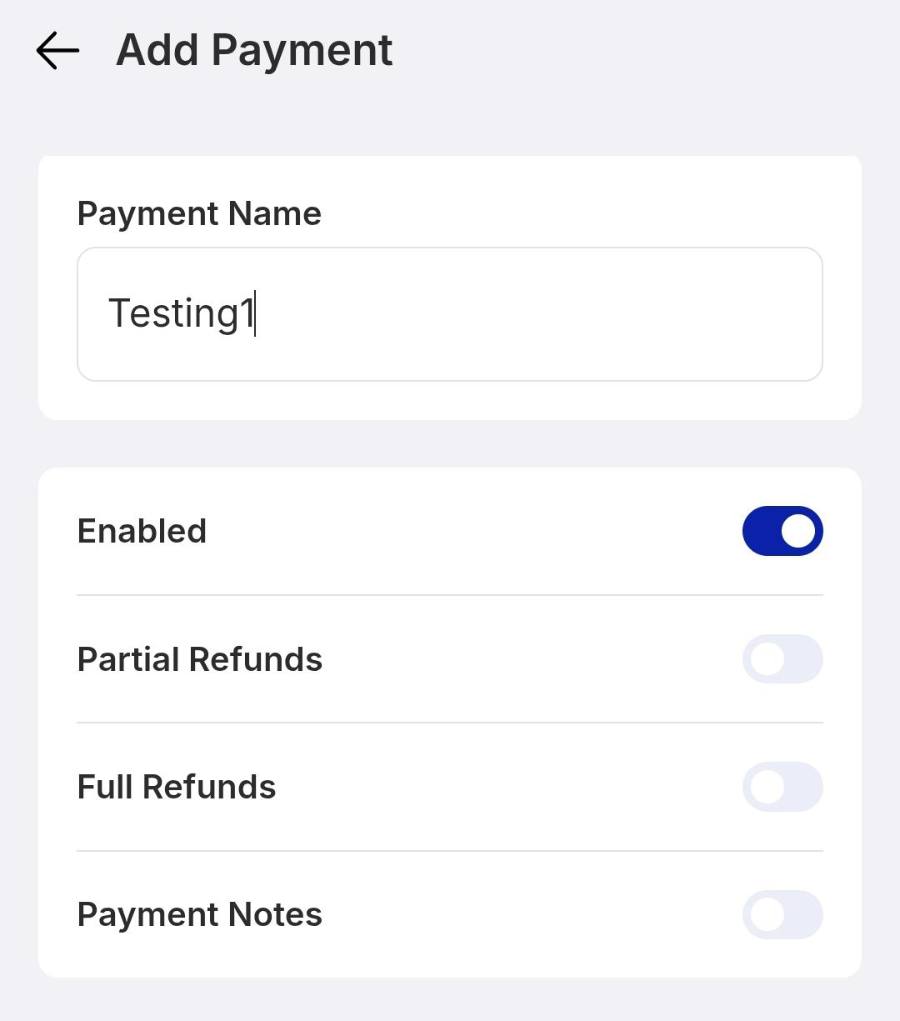
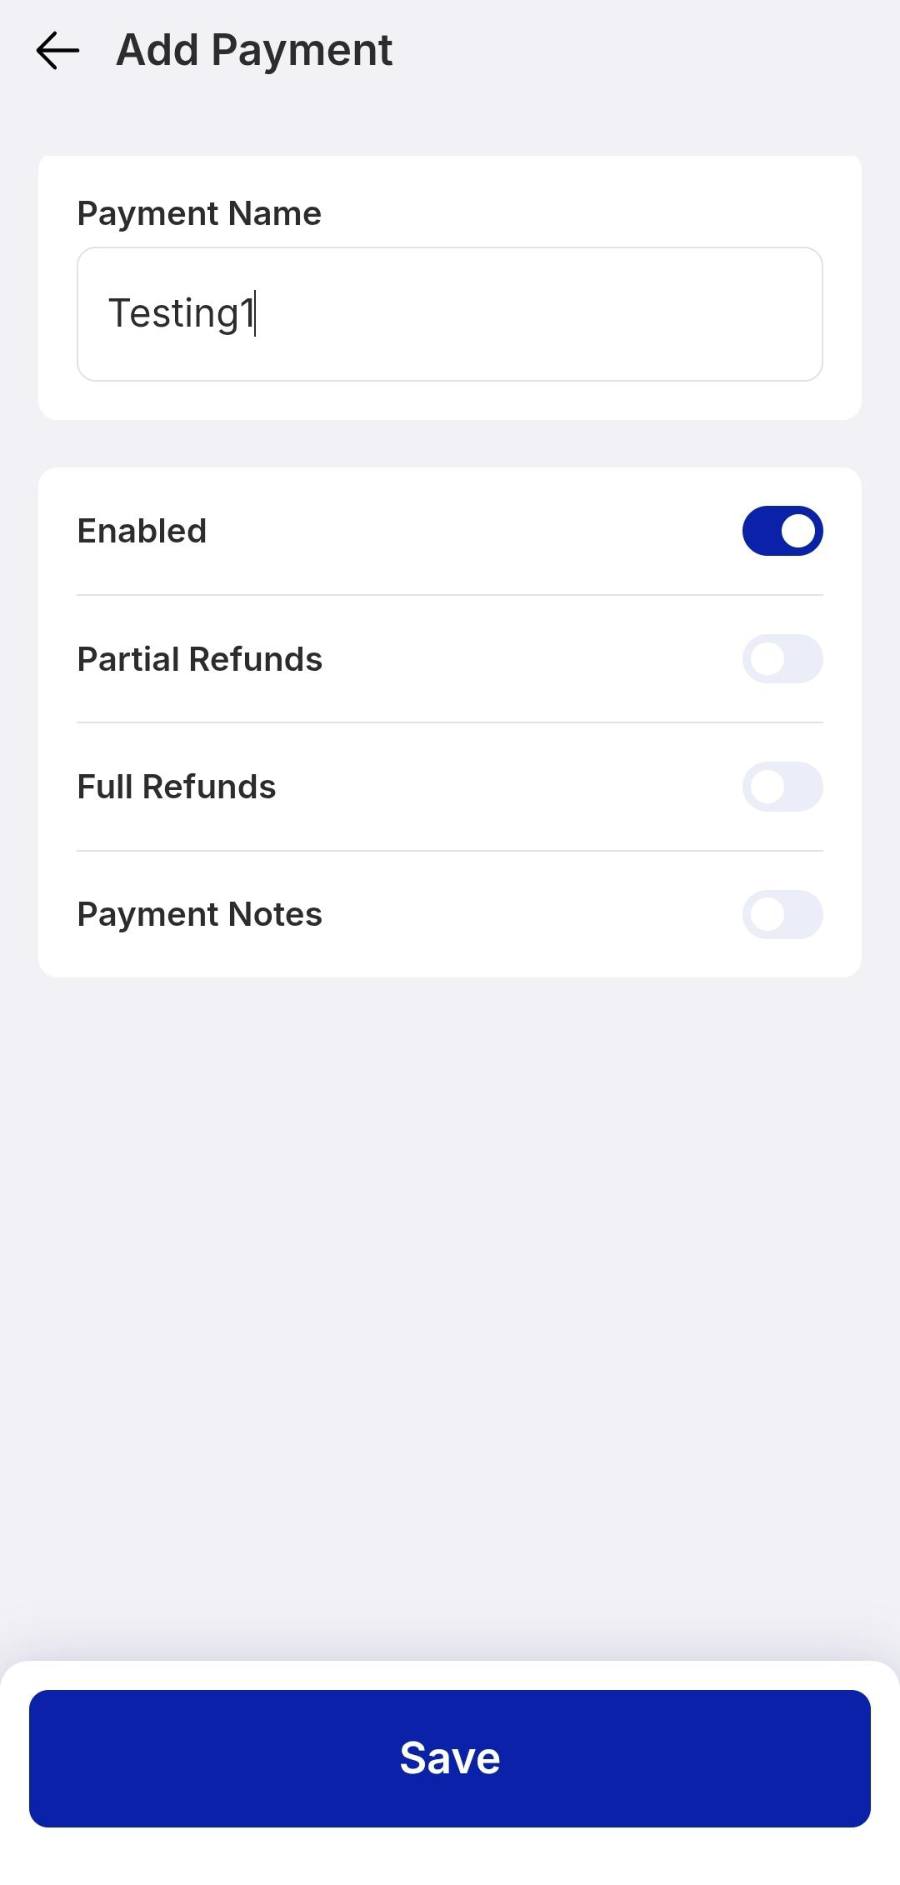
Nothing shows up until Enabled is on. The switch turns dark blue when the method is live for cashiers.
Payment types apply to every store on your account, so name them in a way head office will recognise.
Cash rounding is separate. Rounding to the nearest RM0.05 is a checkout setting you can switch on or off.
These are non-integrated payment methods. EPOS cannot connect to an independent card terminal or a unique payment method, so a new payment method means you record and manage those transactions manually.
THE STEPS
Step 1: Open payment settings
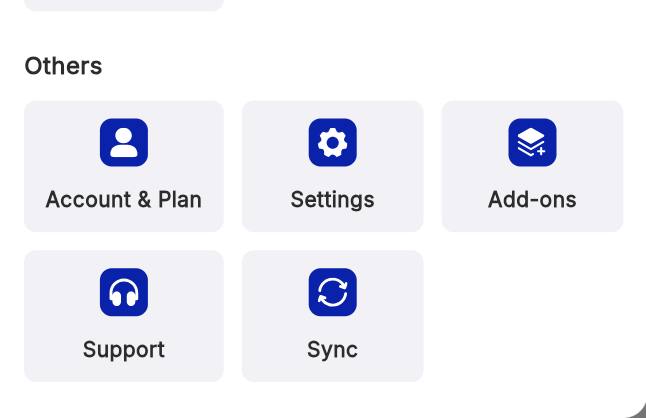
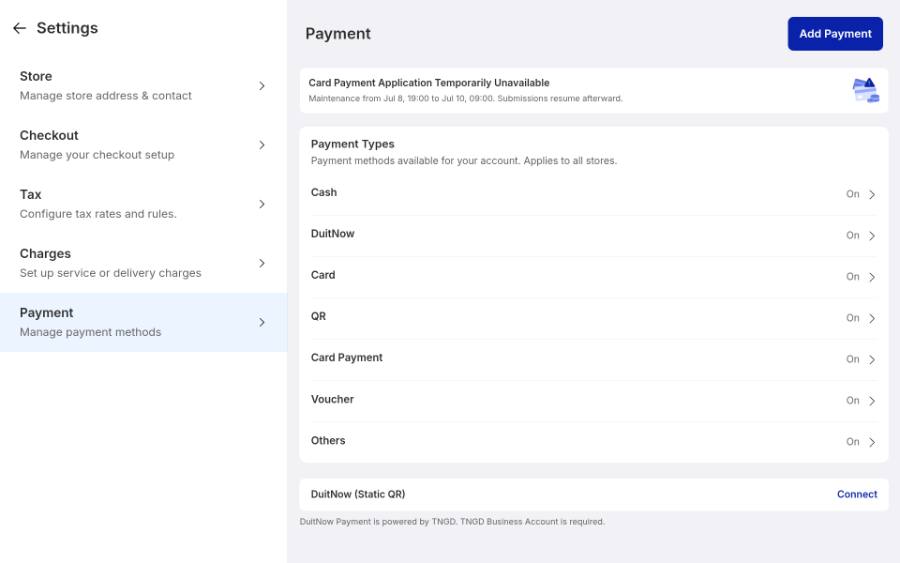
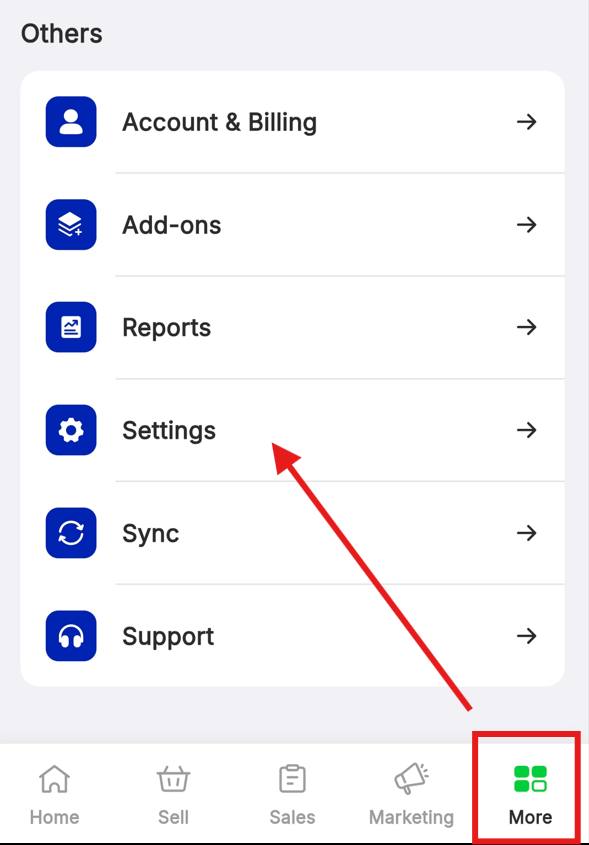
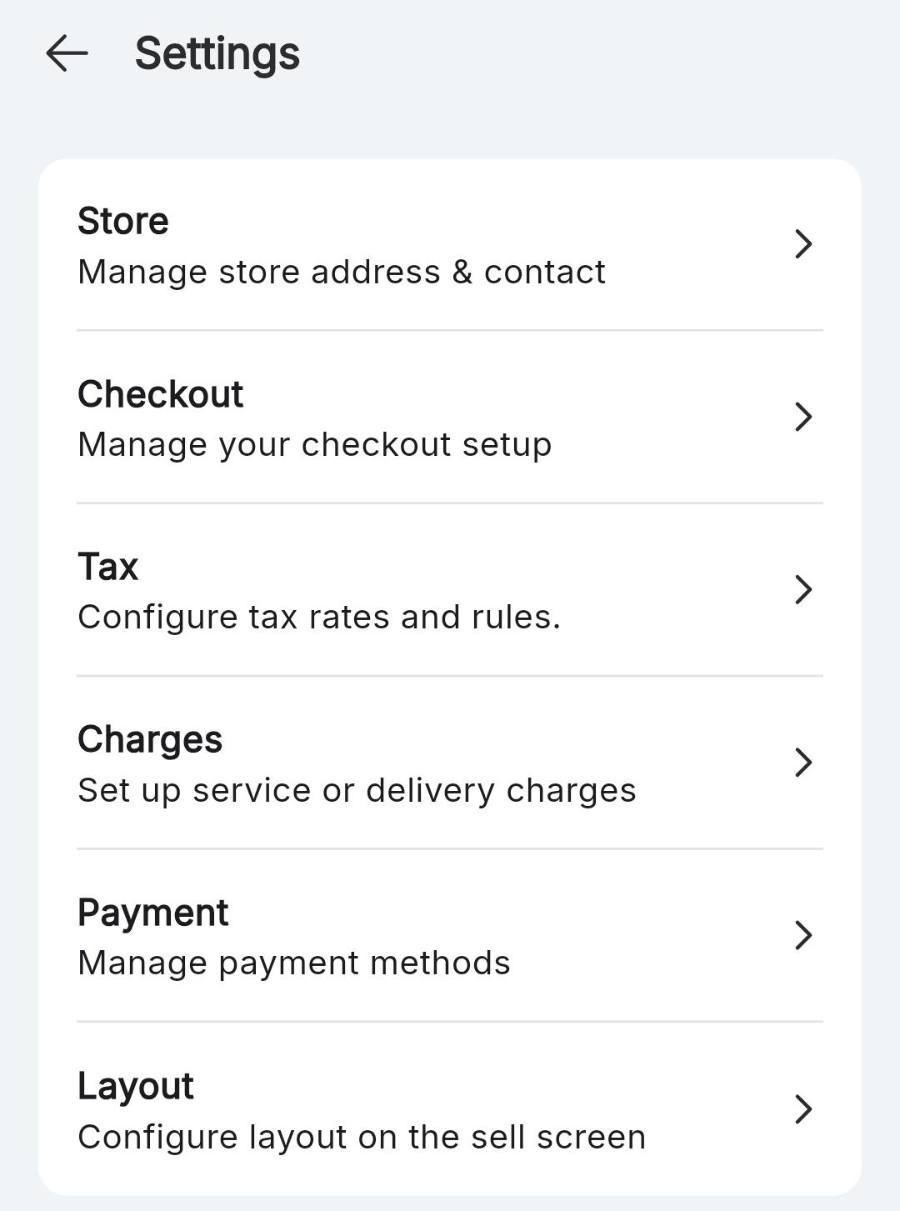
Tap the four-square icon at the bottom left, then Settings. In Settings, tap Payment — Manage payment methods.
Step 2: Create the payment method
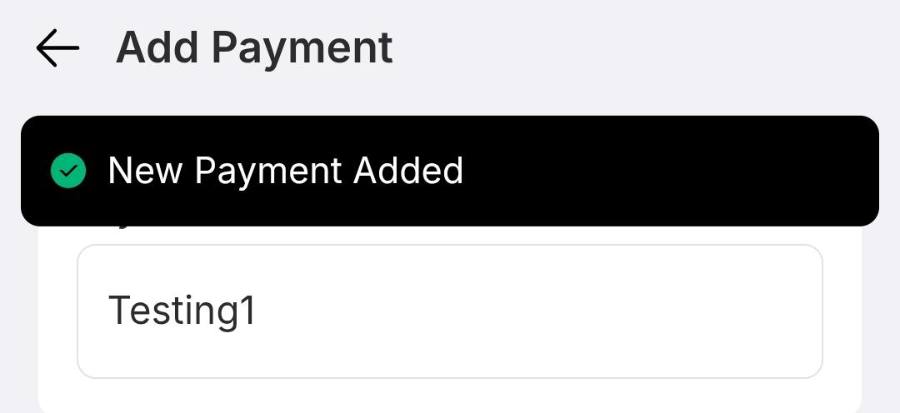
Tap Add Payment at the top right, then fill in the form.
Step 3: Test it at checkout
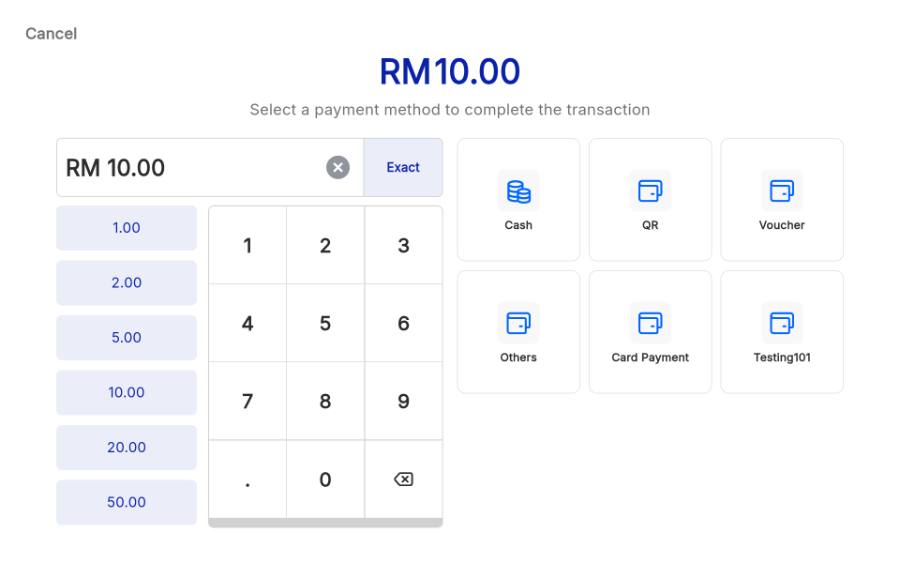
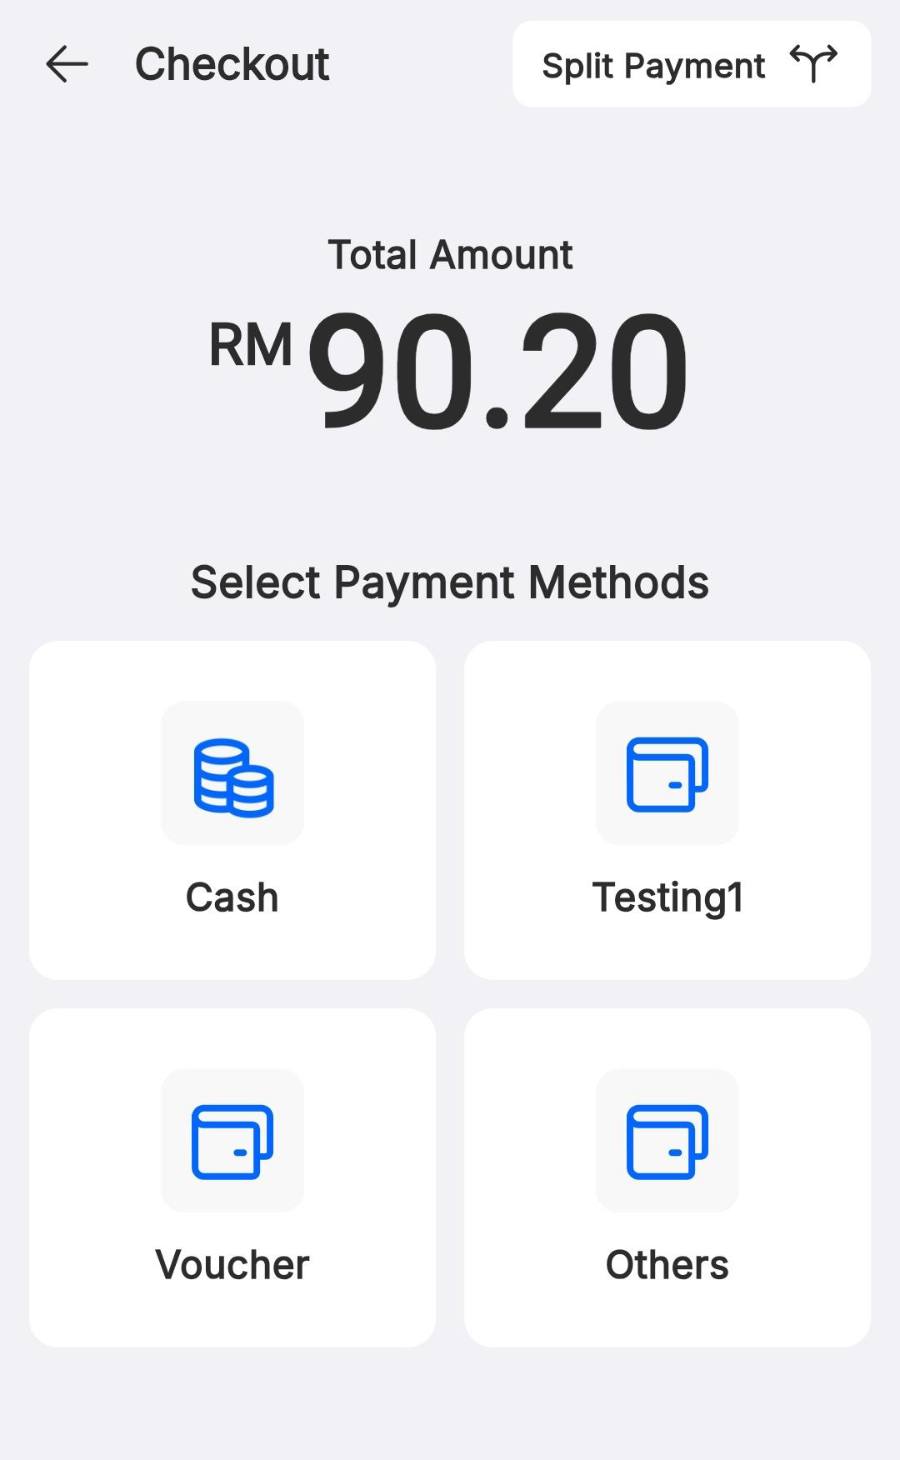
Go to the Sell tab, add any item, tap the balance bar to open the order summary, then Pay. Your new method now sits alongside Cash, QR and the rest. Pick it, tap Exact or key in the amount, then confirm with Pay RM [amount] — a green Paid Successfully check means it works.
Step 1: Open payment settings
Tap the More tab at the far right of the bottom bar, scroll down to Settings, then tap Payment.
Step 2: Create the payment method
Below the default methods, tap the blue Add Payment button.
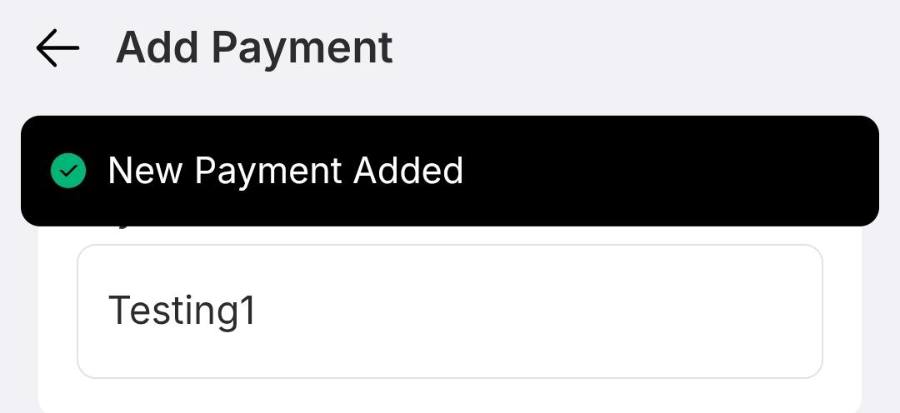
Step 3: Test it at checkout
On the Sell tab add any item, tap the balance bar, then Pay. Your method shows under Select Payment Methods. Pick it, tap Exact or key in the amount, and confirm.
IF IT LOOKS WRONG
Enabled is probably still off. Reopen the method in Settings › Payment and switch it on, then save.
Partial and full refunds are separate switches on the payment method. Turn on the ones you need.
Automatic rounding to the nearest RM0.05 may be on. Check the rounding option in your checkout settings.